Get a Server
For this guide we'll be using a Virtual Private Server (VPS) from Vultr. You can use any VPS provider you like, but Vultr is recommended because they have a wide range of locations and their pricing is reasonable.
Create an Account
First, you'll need to create an account on Vultr. You can do that on the Vultr website.
Deploy a Server
Once you've created an account, you can deploy a server by clicking on the Deploy + button in the top right corner.
Choose a Server Type
If you're just starting out or just plan to use this as a personal relay, it's recommended to use the Cloud Compute - Shared CPU server type. It will only cost you about $6 per month and will be more than enough to store your own notes and test things out.
If you plan to run a public relay, you may want to choose a more powerful server type. In that case it's recommended to use their Optimized Cloud Compute - Dedicated CPU option.

Choose a Server Location
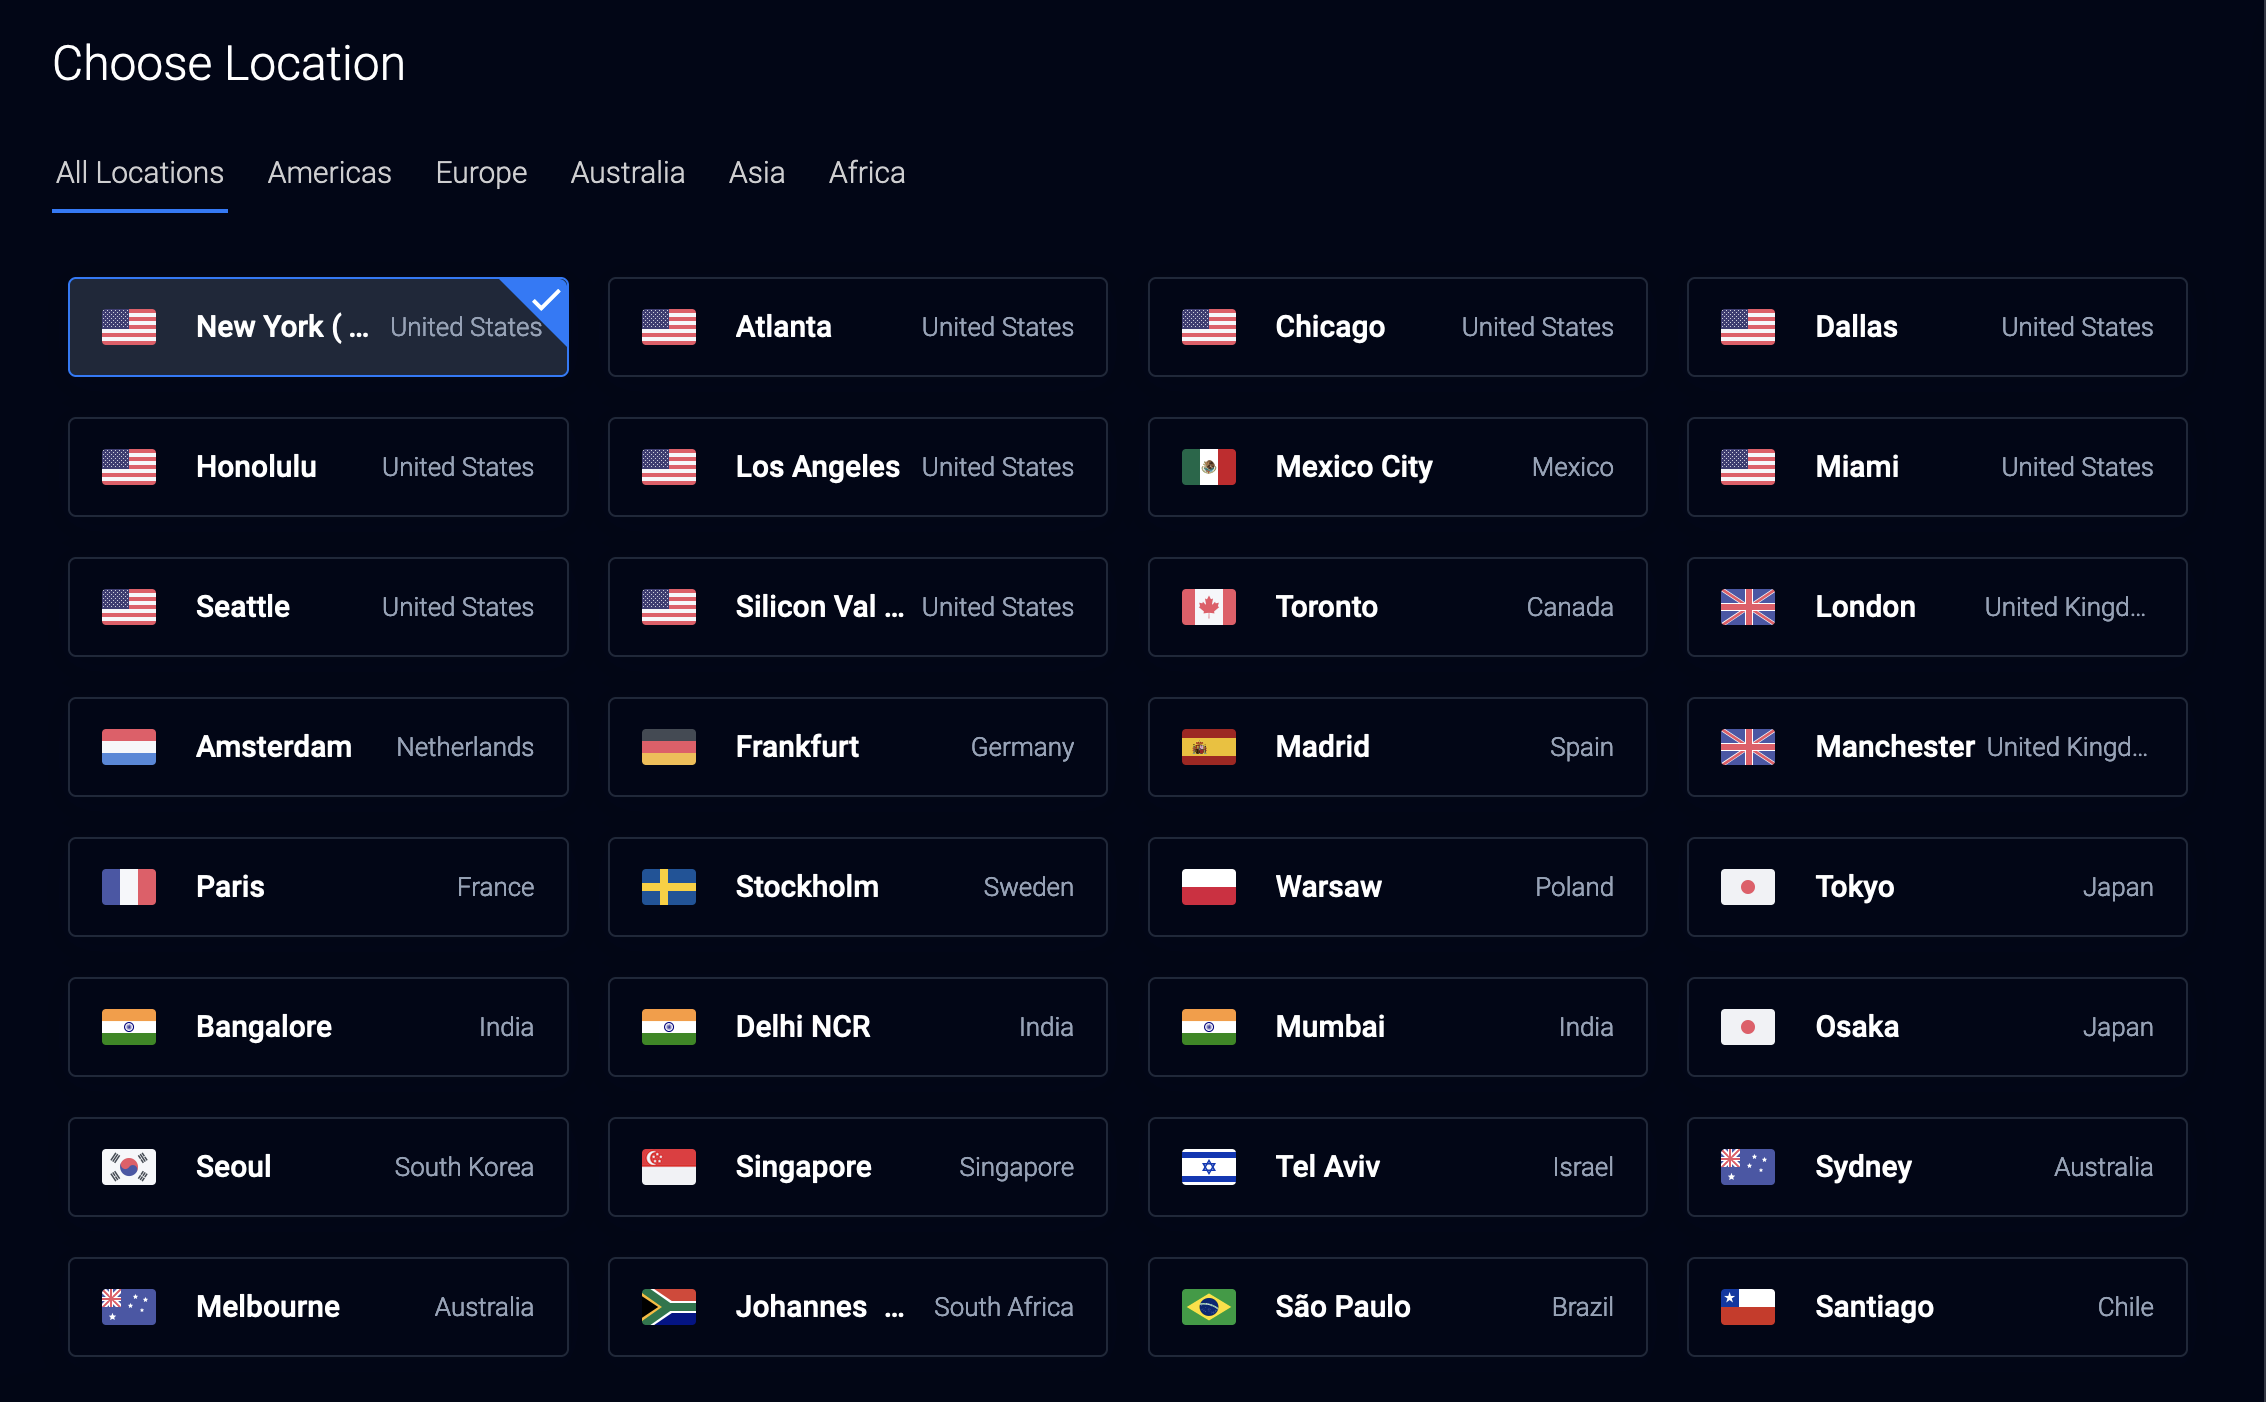
You can choose a server location that is closest to you or your target audience. We'll be choosing New York (NJ) for our server location.
Choose an Operating System
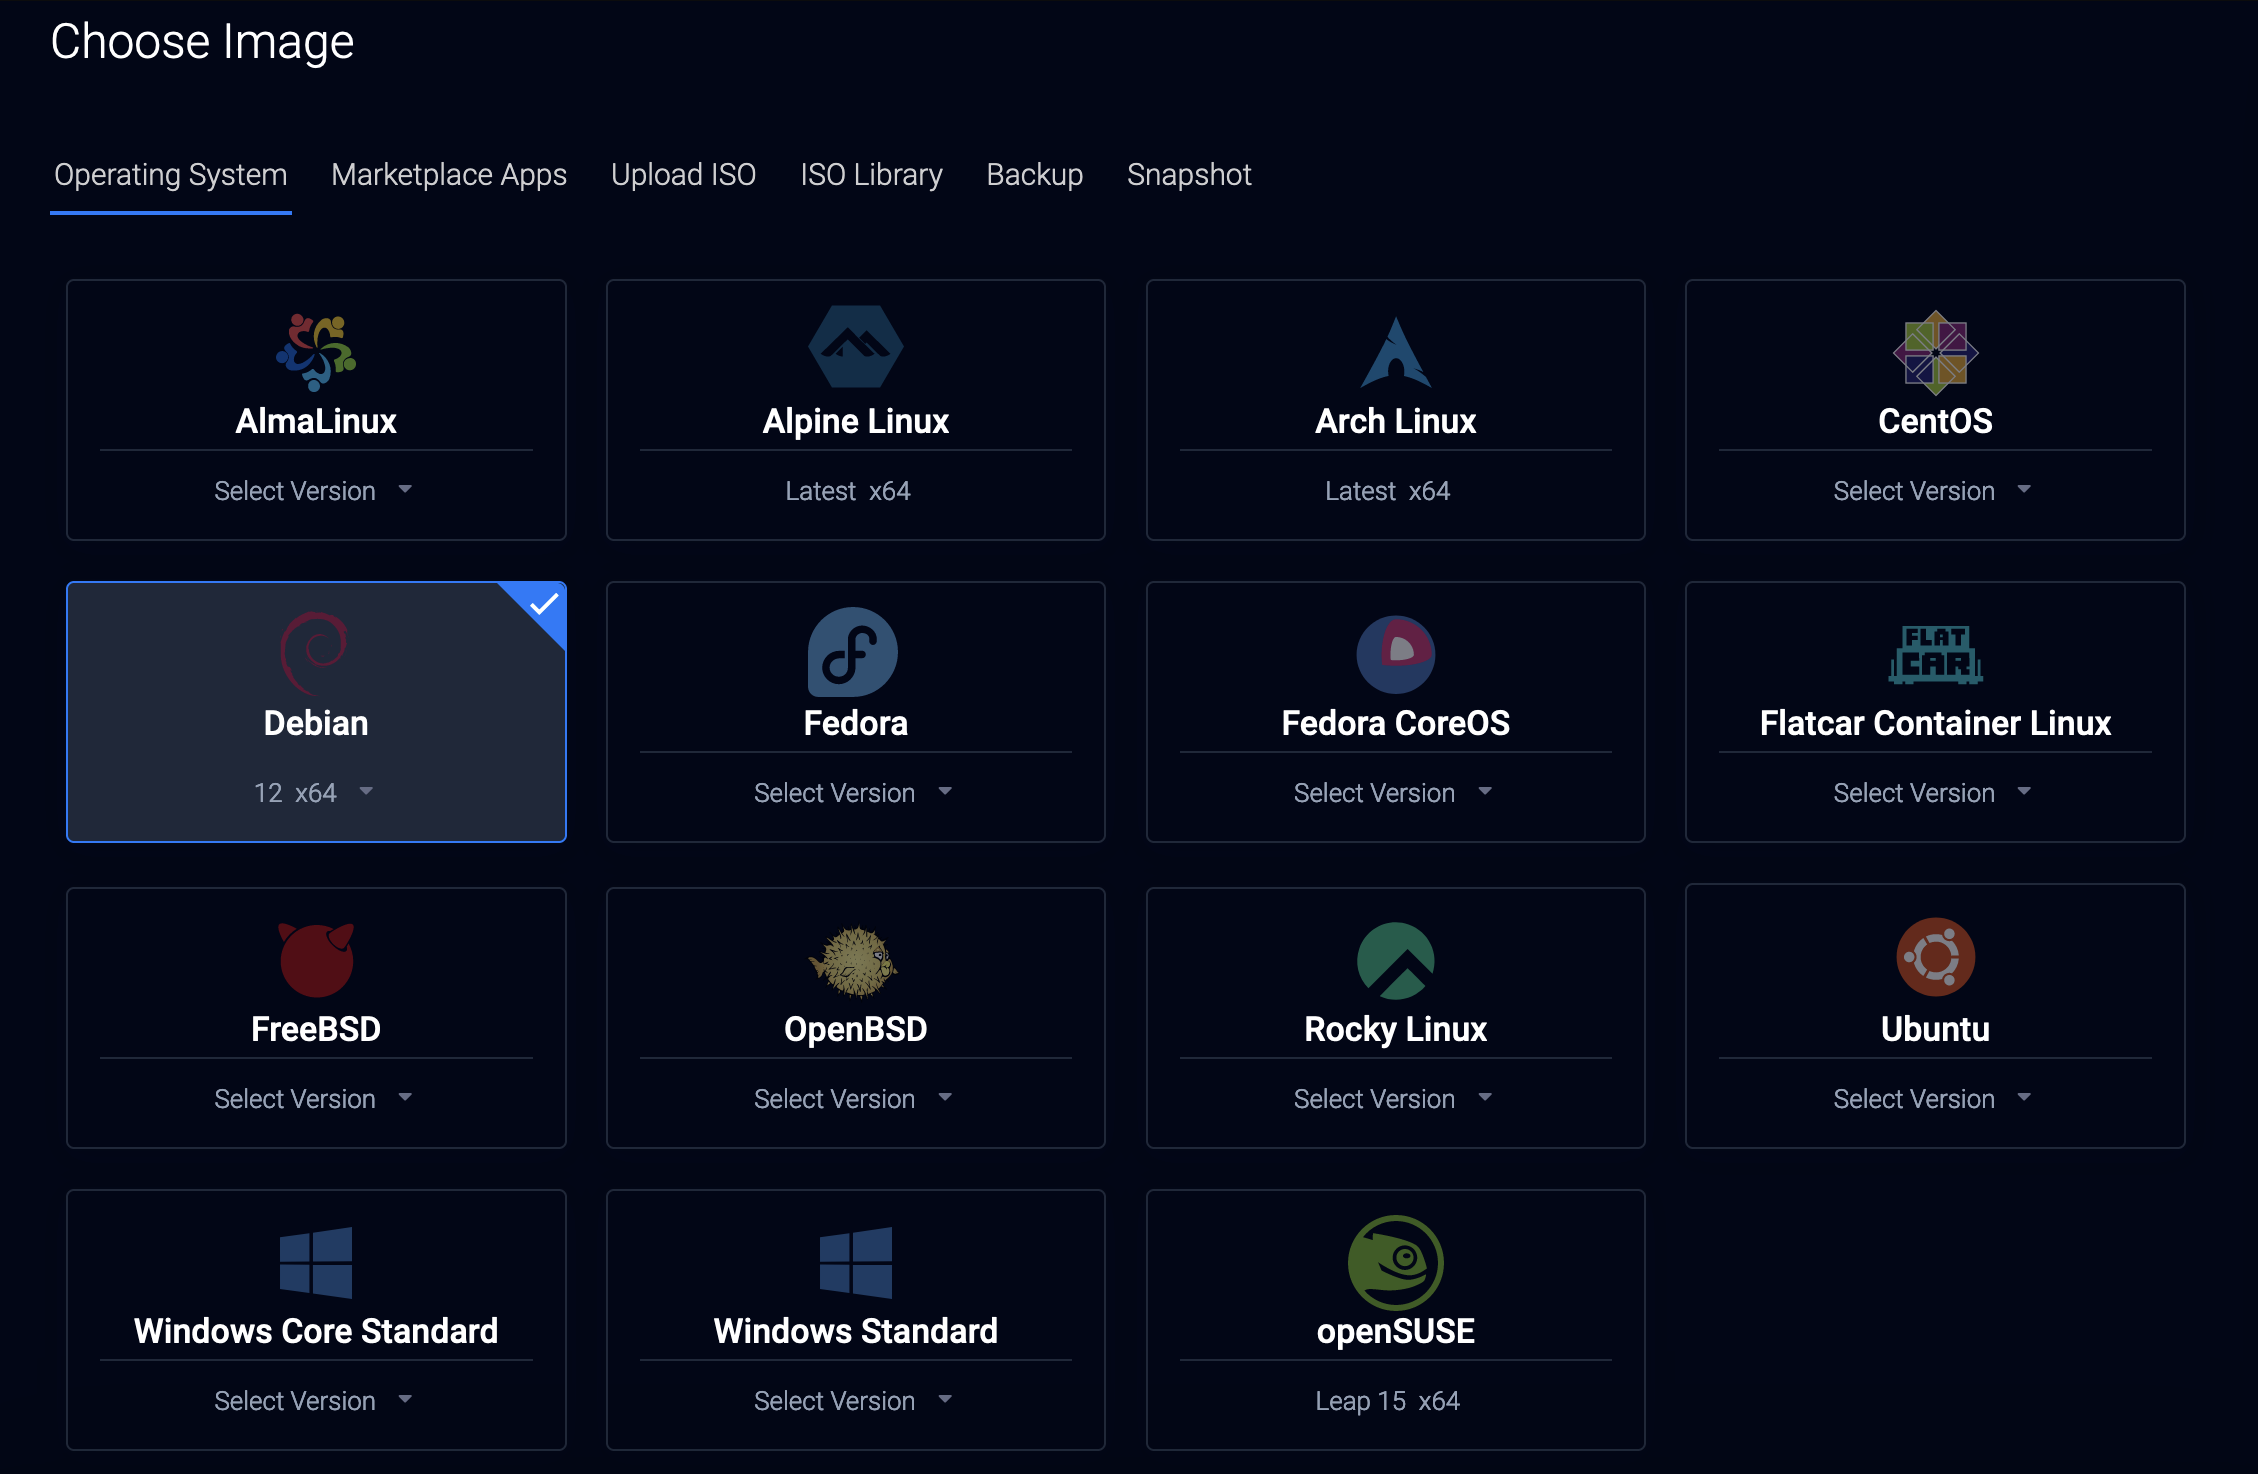
You can choose any operating system (OS) you like, but we'll be using Debian 12 x64 for this guide. If you want to follow along exactly, be sure to choose the same OS.
Choose a Plan
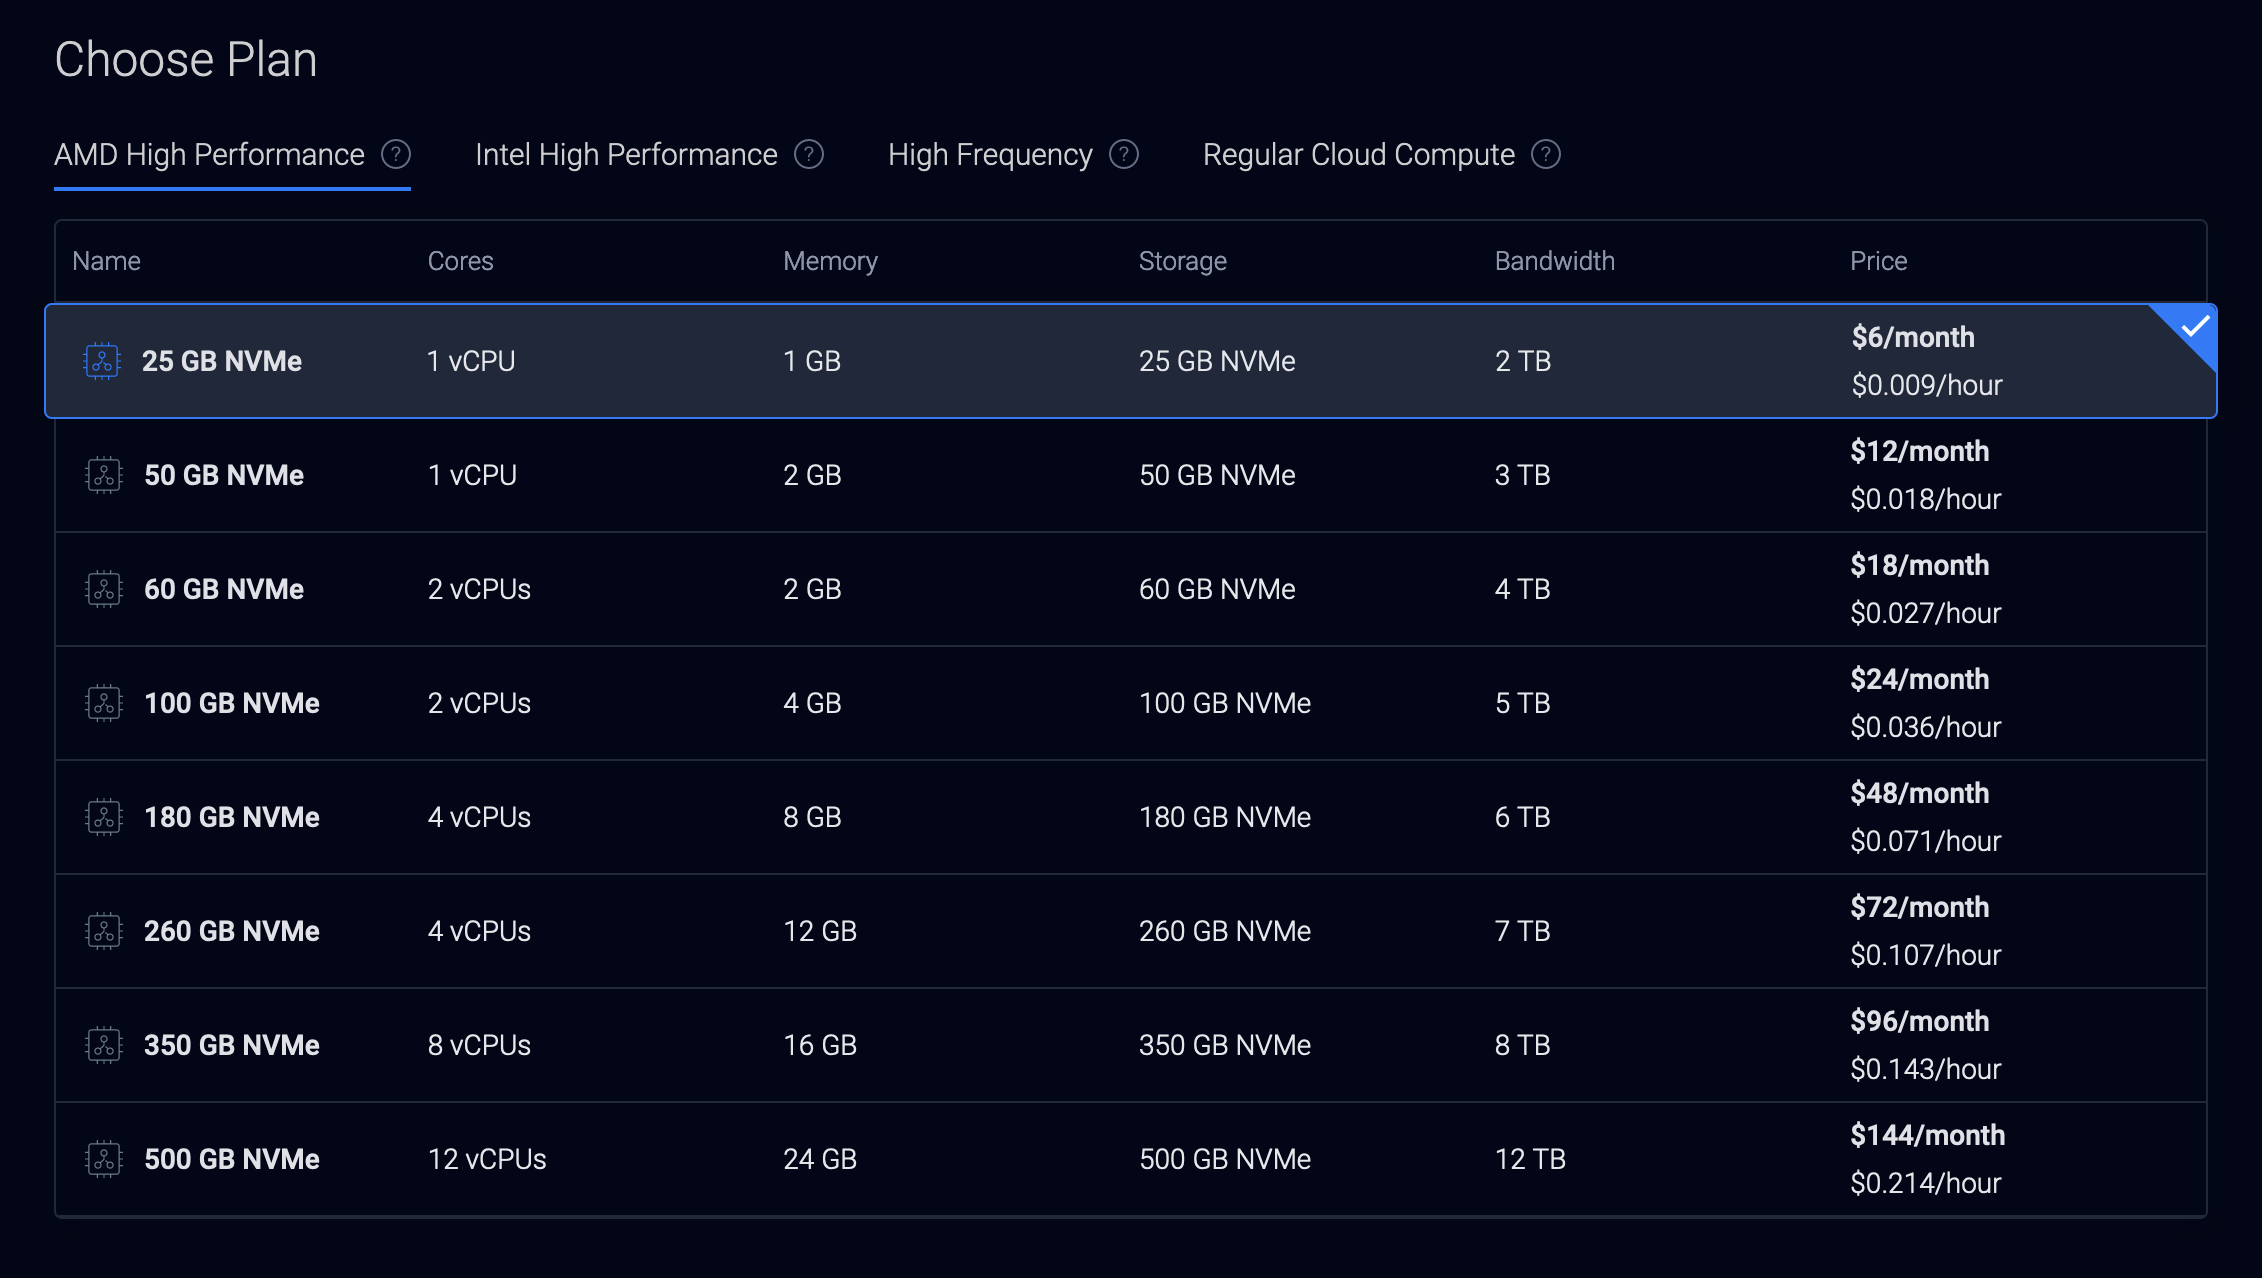
You'll now need to choose a server type for your relay.
Cloud Compute - Shared CPU
If you chose the Cloud Compute - Shared CPU server type, you can choose the $6 per month plan since it will likely be more than enough for your needs and you can always upgrade later.
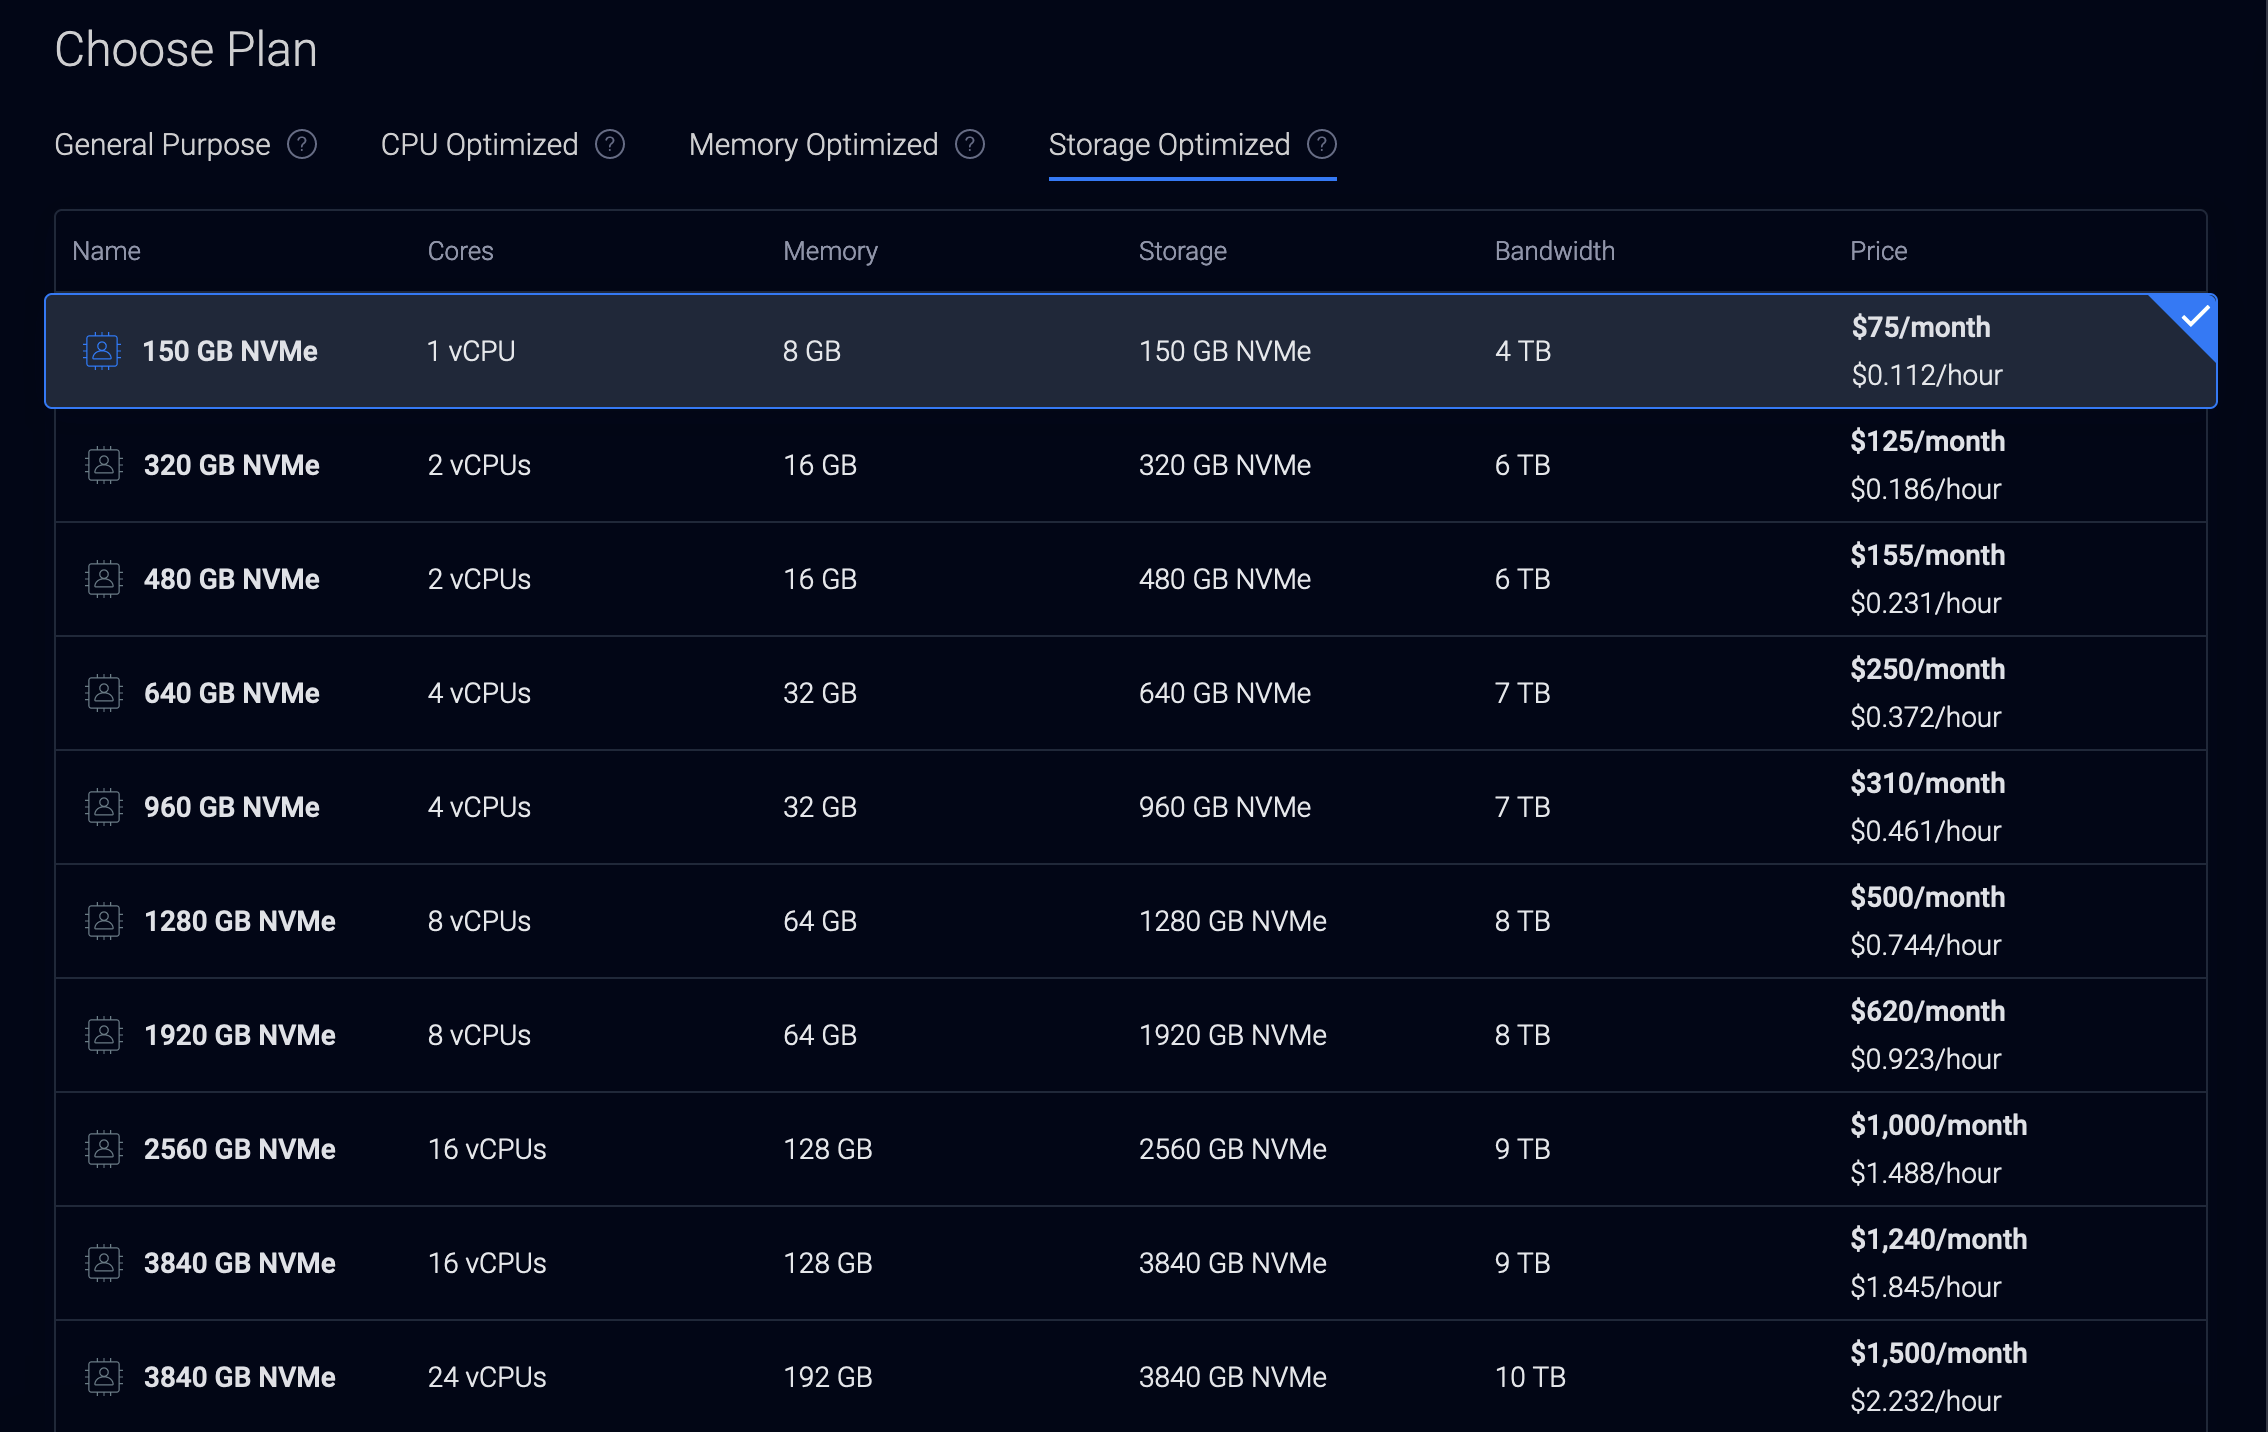
Optimized Cloud Compute - Dedicated CPU
If you chose the Optimized Cloud Compute - Dedicated CPU server type, it's recommended to choose one of the Storage Optimized plans since you'll likely need more storage for a public relay.
Additional Features
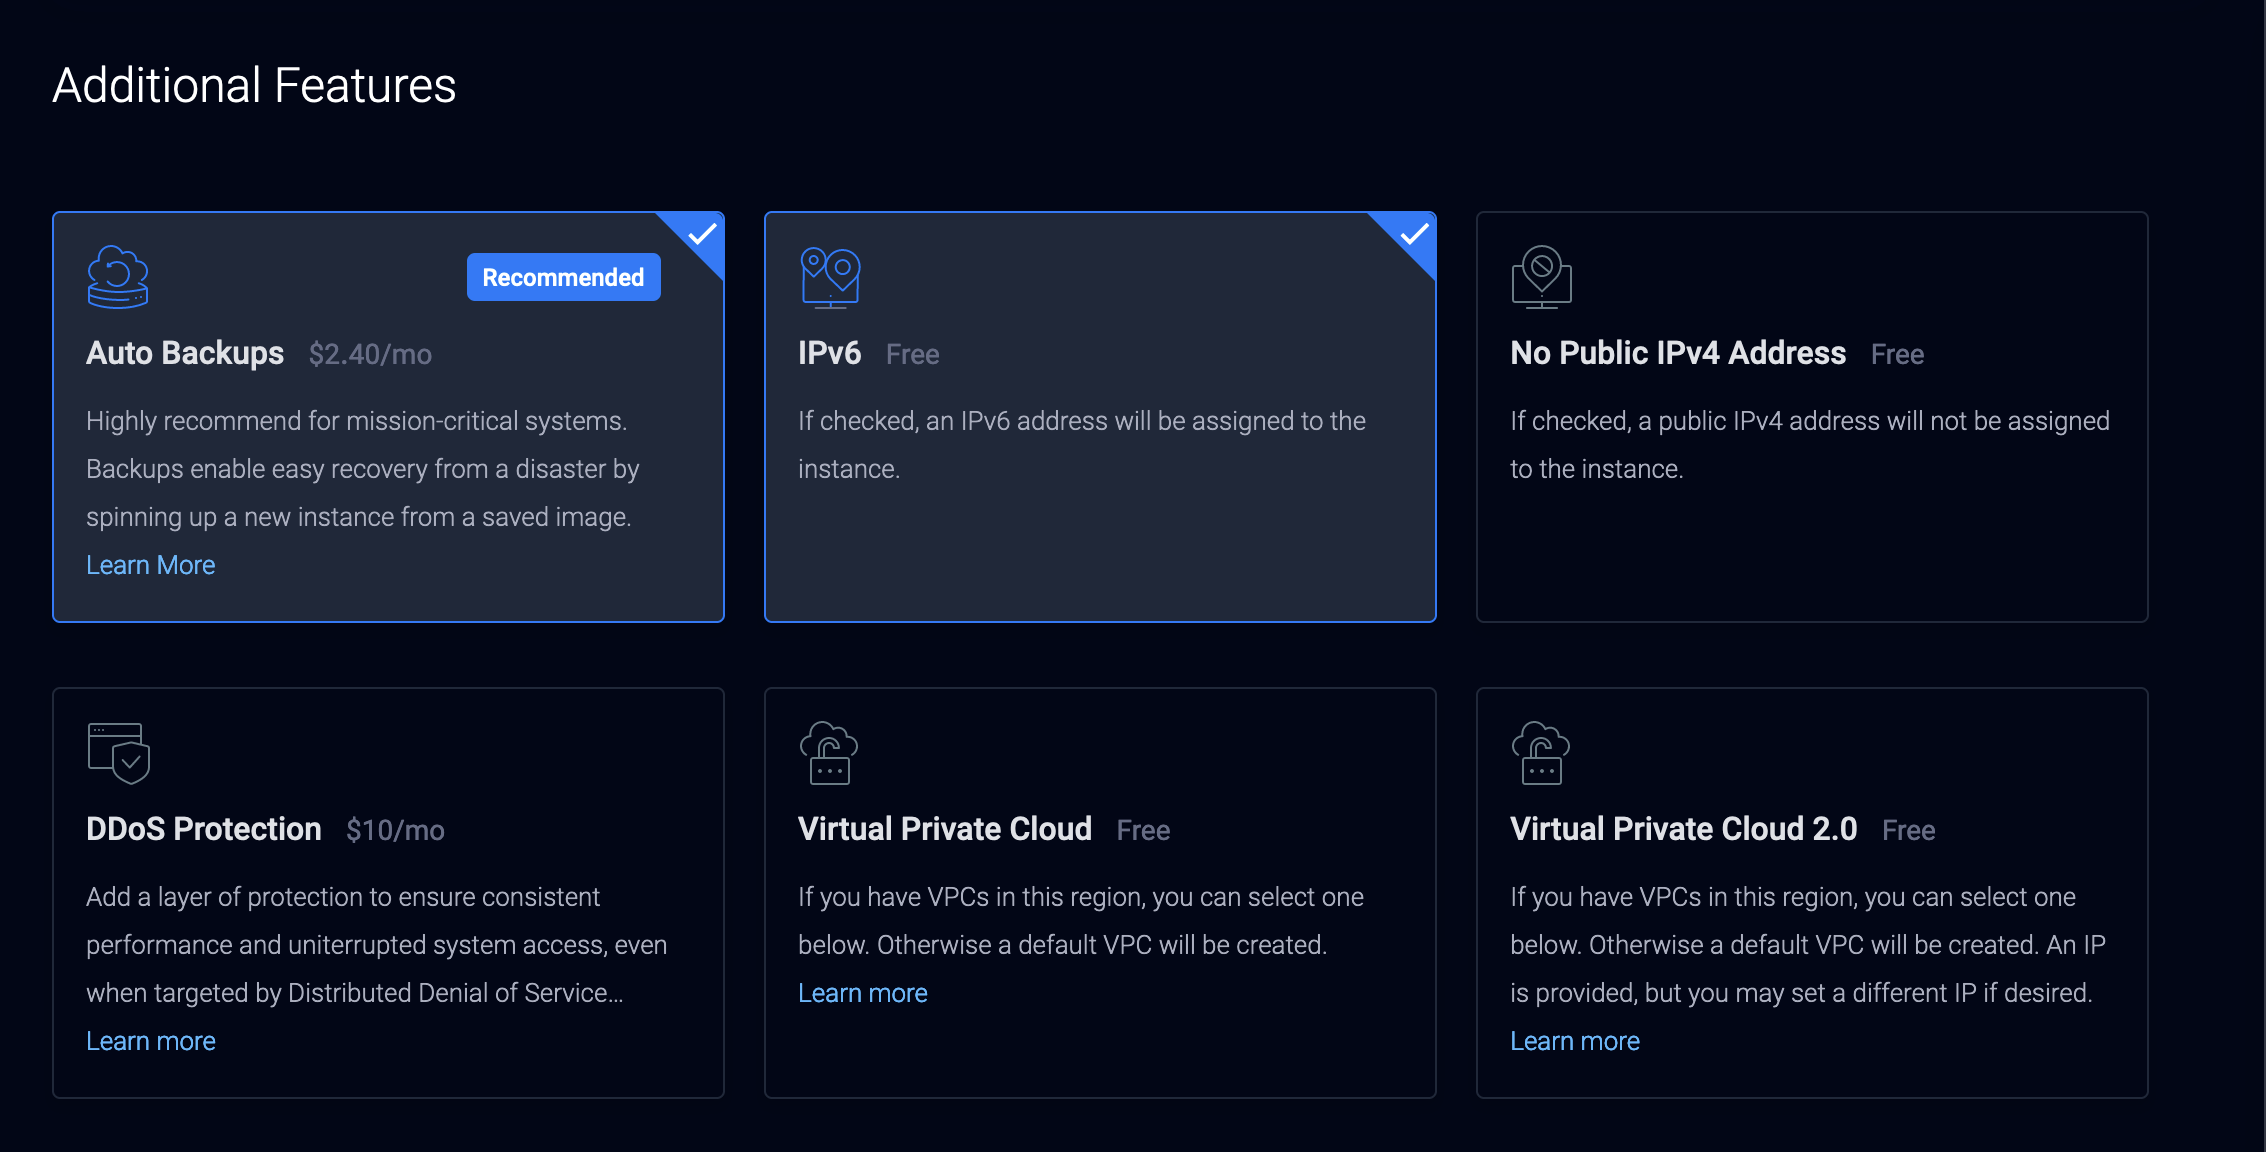
You can add additional features like Auto Backups, IPv6, DDoS Protection, etc. It's recommended to add auto backups for peace of mind, and you might as well enable IPv6 since it's free. If you're running a public server, you might also consider enabling DDoS protection.
Server Settings
You have the option to choose an SSH key that will automatically be added to your server. If you don't have one, don't worry we'll be setting one up later.
Server Hostname & Label
You can choose a hostname and label for your server. It's recommended to choose something that will help you remember what this server is for.
Server Info
After your server is provisioned, take note of the IP address and the IPv6 address since we'll need those in the next section.

Web Hosting/VPS Services
Here are some other places to get a server:
-
Njalla * Pay with Bitcoin
-
OrangeWebsite * Pay with Bitcoin
-
1984 Hosting Company * Pay with Bitcoin