Get a Domain Name
For this guide we'll be using Namecheap. You can use any domain registrar you like, but the images in this guide will be specific to Namecheap.
Register
First, go to Namecheap and search for a domain name. Once you find one you like, add it to your cart and proceed to checkout. You can get a .xyz for about $1 for the first year, so if you don't want to commit to a domain just yet get one of these to get started.

Checkout
Once you're at the checkout screen, you'll see a few options. You can toggle on the switch for Domain Privacy which is free and leave the rest toggled off. If you like your domain and plan to keep it, it's recommended to turn on AUTO-RENEW as well.

DNS
After your order is processed, you can go to your Domain List and see your new domain. You can click on the Manage button, and then choose Advanced DNS to get started hooking up your domain to the server you created in the last section. We'll be adding a few records so make sure you have the IP addresses from the server from the last section.
First, remove the default records that Namecheap added for you. You should have a CNAME record for www and an A record for @.

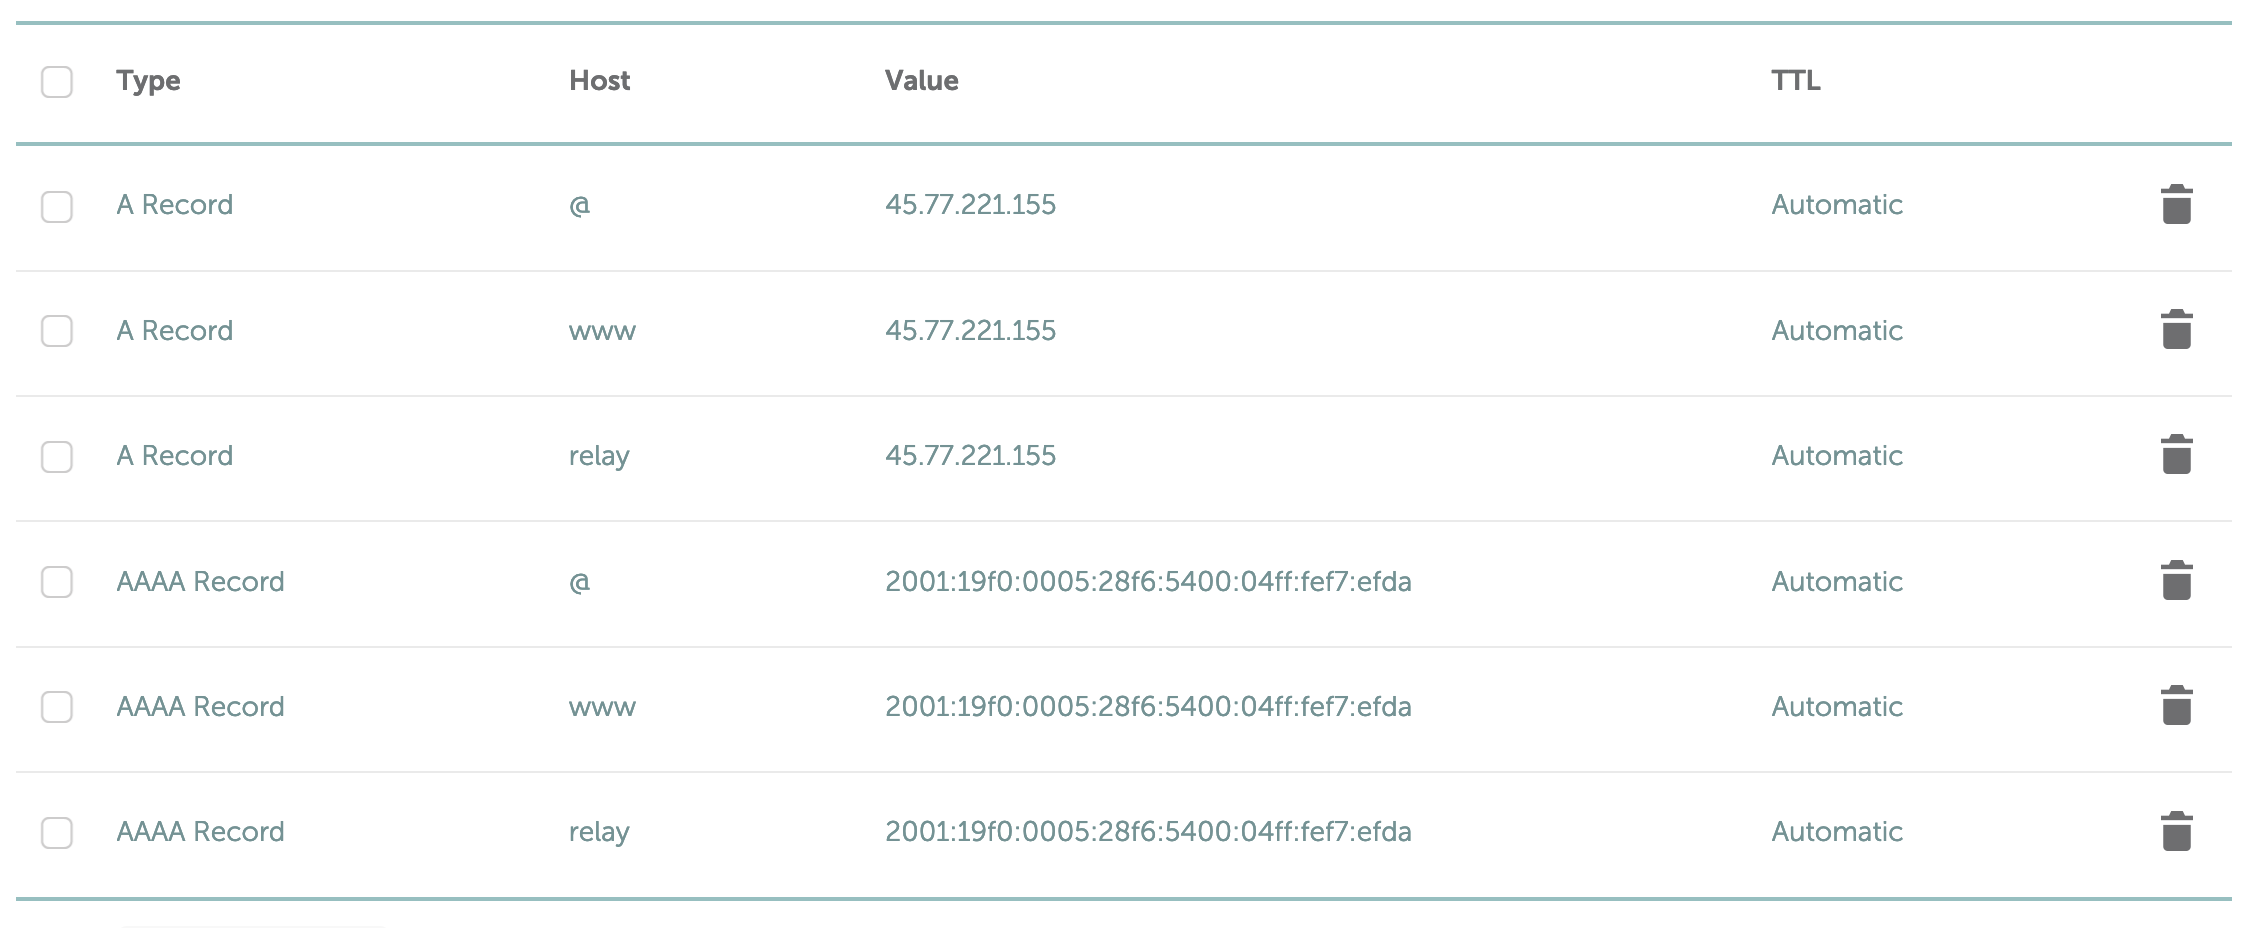
Now we'll add a few records for @ which is the root domain (relayrunner.xyz), www (www.relayrunner.xyz), and relay (relay.relayrunner.xyz). You will need to create an A record for each IPv4 address and a AAAA record for each IPv6 address. When you're done it should look like the image below:

DNS Propagation
It can take up to 24 hours for your DNS changes to propagate. You can check the status of your DNS changes by going to whatsmydns.net.
When you enter your domain name you should see the IP addresses you added in the previous step. If you don't see them yet, wait a few hours and check again.