Firewall
By setting up a firewall we’ll be able to monitor, allow, and block incoming and outgoing network traffic based on security rules that we define. Multiple network ports may be open and listening for incoming connections by default which leaves the relay open to various network based attacks. By monitoring and gaining control over which ports are open and closed we’ll be able to mitigate many of the network based attacks.
We’ll be using the Uncomplicated Firewall (UFW) which is a firewall configuration tool that allows us to easily manage a netfilter firewall by using the provided ufw command.
Install UFW
To install UFW run:
Check Status
To check the status of UFW run:
The output indicates if the firewall is active or inactive.
Default Policy
Before enabling UFW and activating the firewall, we’re going to first discuss the default policies for incoming and outgoing network traffic. The default policies determine how traffic that doesn’t match a specific rule is controlled.
By default, UFW is configured to deny all incoming connections and to allow all outgoing connections. This means no one can establish a connection with the server while an application running on the server can establish a connection outside of the server.
The following commands can be run to reset the default behavior of UFW for incoming and outgoing connections.
Deny Incoming
To deny all incoming connections run:
Allow Outgoing
To allow all outgoing connections run:
Allow Incoming SSH Connections
When UFW is enabled by default it will block all incoming connections to the relay. With the current configuration of UFW we’ll be disconnected once we enable it since we’re using SSH to access the relay. Therefore, we need to first allow incoming SSH connections before we enable UFW.
To allow incoming SSH connections we need to open the port the relay is using for SSH.
If you’re using the default port for the SSH server, i.e., port 22, you can run the following command to allow incoming SSH connections:
If you changed the default port for the SSH server, run the following command to allow incoming SSH connections on the custom port:
Here <port-number> should be replaced with the custom listening port number you set for the SSH server.
Allow Incoming Nginx Connections
We're going to set up an Nginx reverse proxy in the next section, so we're going to allow incoming HTTP and HTTPS connections on ports 80 and 443, respectively.
To allow incoming HTTP and HTTPS connections you can run:
Logging
By default, UFW will keep logs using low mode which means it logs all the packets that are blocked or allowed by the rules we set.
Disable Logging
If you don’t have a valid reason to keep UFW’s logging active, you should disable the logging because it can take up GBs of the relay's storage.
Enable UFW
After setting the incoming connections rules and setting the logging preference, we’re now ready to enable UFW which will activate it and apply the rules we set.
To enable UFW run:
After running the above command, you may receive a warning message that looks similar to:
If you successfully configured the rules for the incoming SSH connections, enter y and press enter.
After enabling UFW, you can check the status by running:
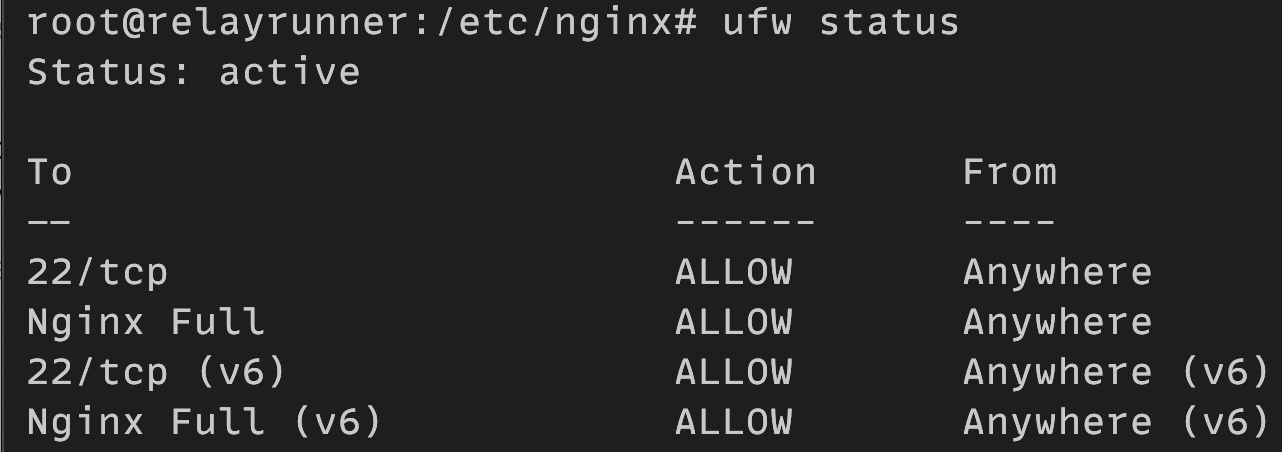
The output indicates if the firewall is active or inactive as well as all of the rules you set for your firewall.
The status of your firewall should look similar to the following:

Enable on Boot
UFW should already be enabled to start automatically on boot, but if it isn’t run: